Getting Started with the IntuneCLI, an Automated Intune Management Solution
Table of Contents
Disclaimer: The IntuneAssistant is an ongoing project that is in development. The document below may be outdated in newer versions. The developer is very active on GitHub if you run into any issues. You should reference the GitHub Project: https://github.com/srozemuller/IntuneAssistant
I would also recommend checking out their blog at: Sander Rozemuller | All about Identity, AVD, Automation, DevOps, Monitoring, Intune and Security
Obtaining the IntuneAssistant
Manual
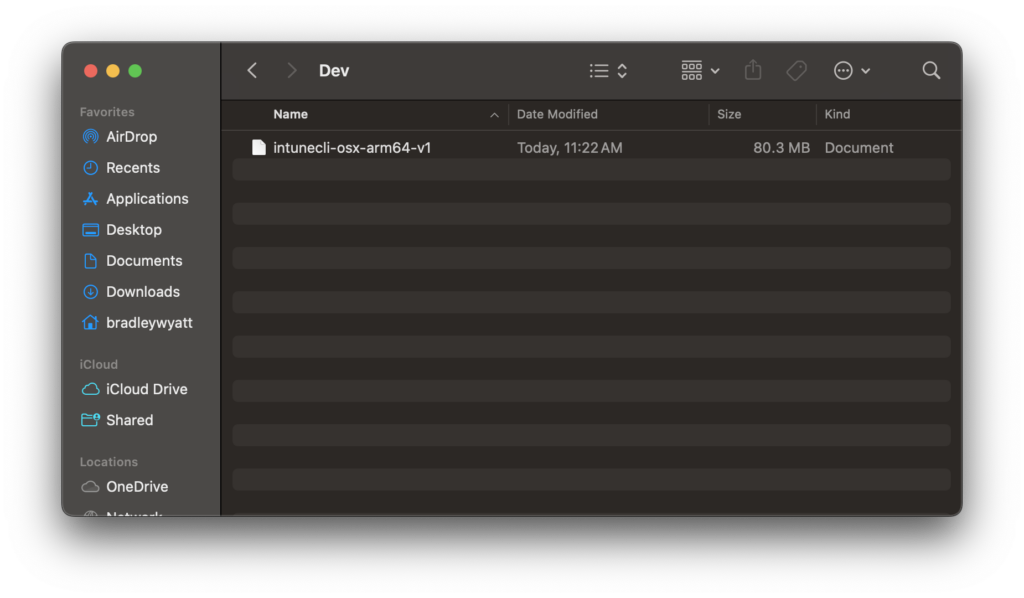
The first thing we need to do, is to download the CLI binary which can be found here. In my case, I am running a M1 Pro Mac so I will grab the MacOS ARM binary. I then placed it in a folder called “Dev” in the root of my Home directory.
Make the Binary Executable
The next step in the process is to make the binary executable. This is something that you do not have to do on a Windows machine, so if you are on Windows you can proceed to the next step.
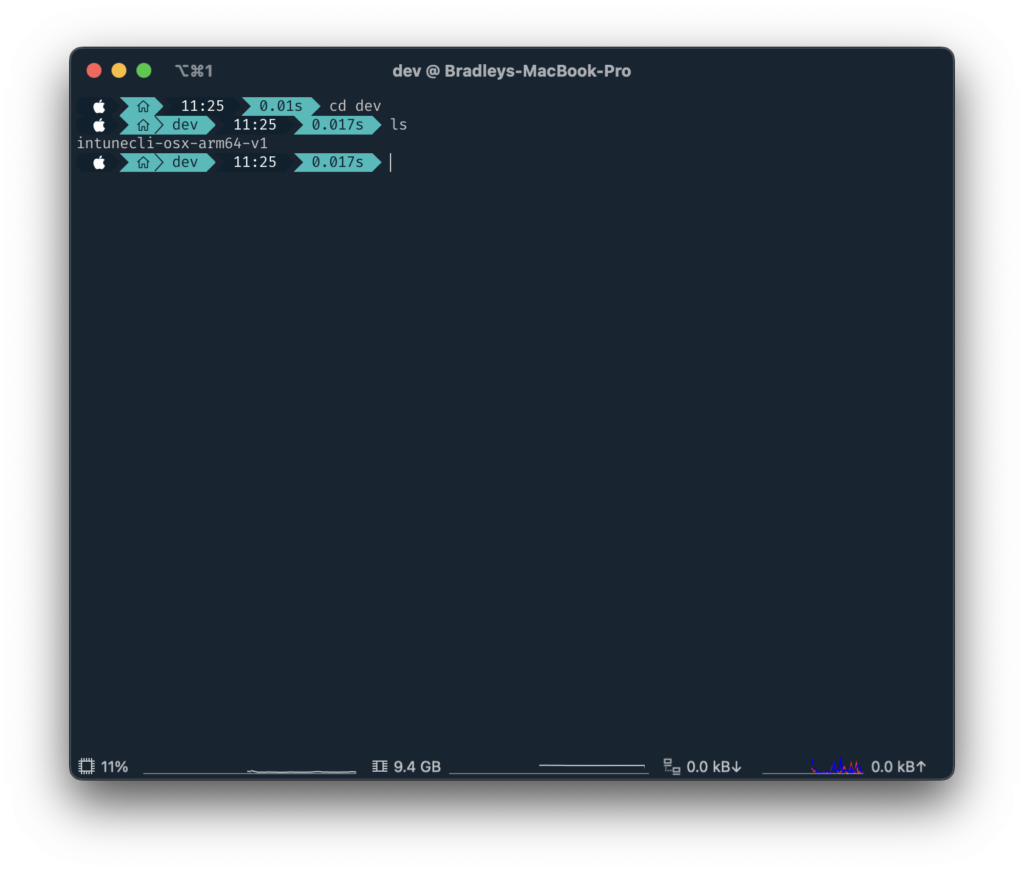
- Open a terminal and navigate to the binary location. In my example I will go to Home > Dev
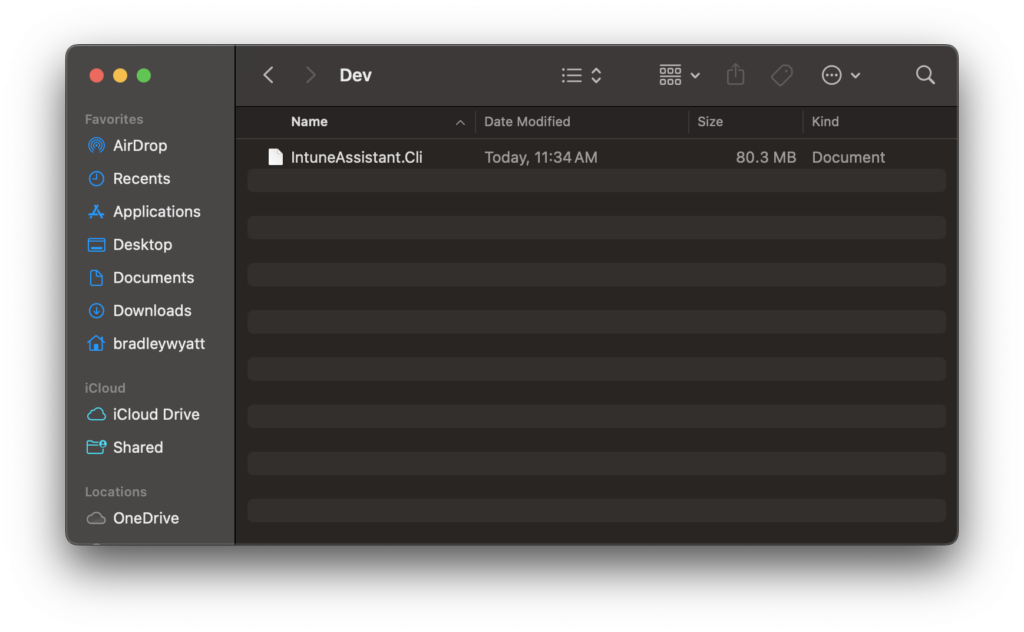
2. Next, I will rename the file to “IntuneAssistant.Cli”. This is not required but preferred.
3. Back in the terminal, I need to make the binary executable by running the following command:
chmod +x IntuneAssistant.Cli4. Next, I need to attempt to run it by running the following command:
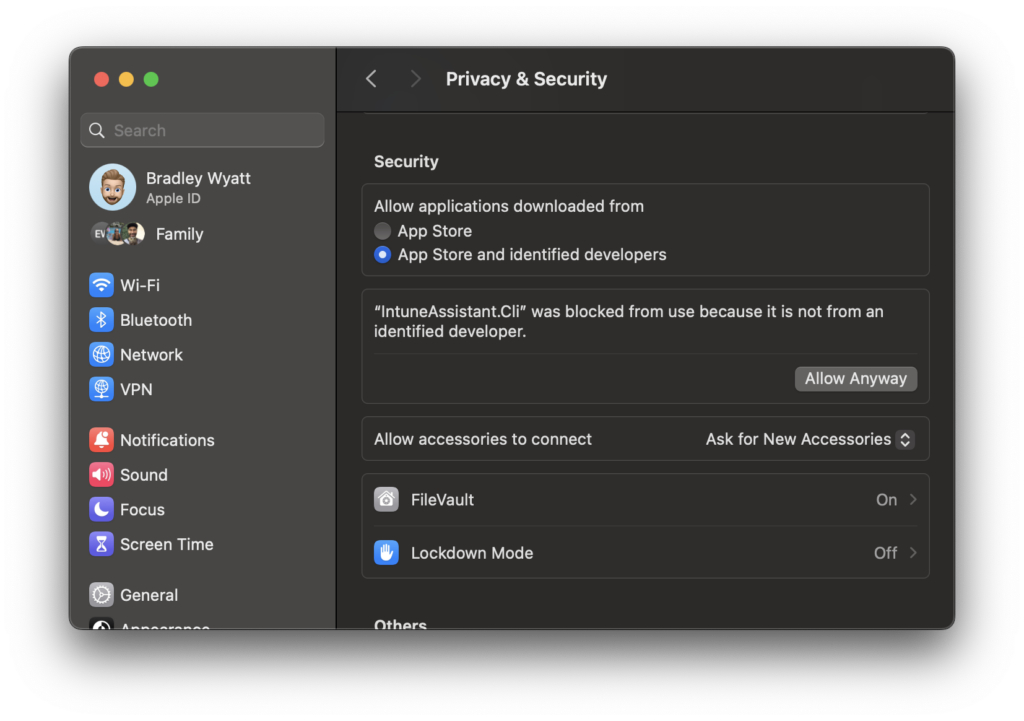
./IntuneAssistant.Cli auth login5. That will invoke a security warning shown below:
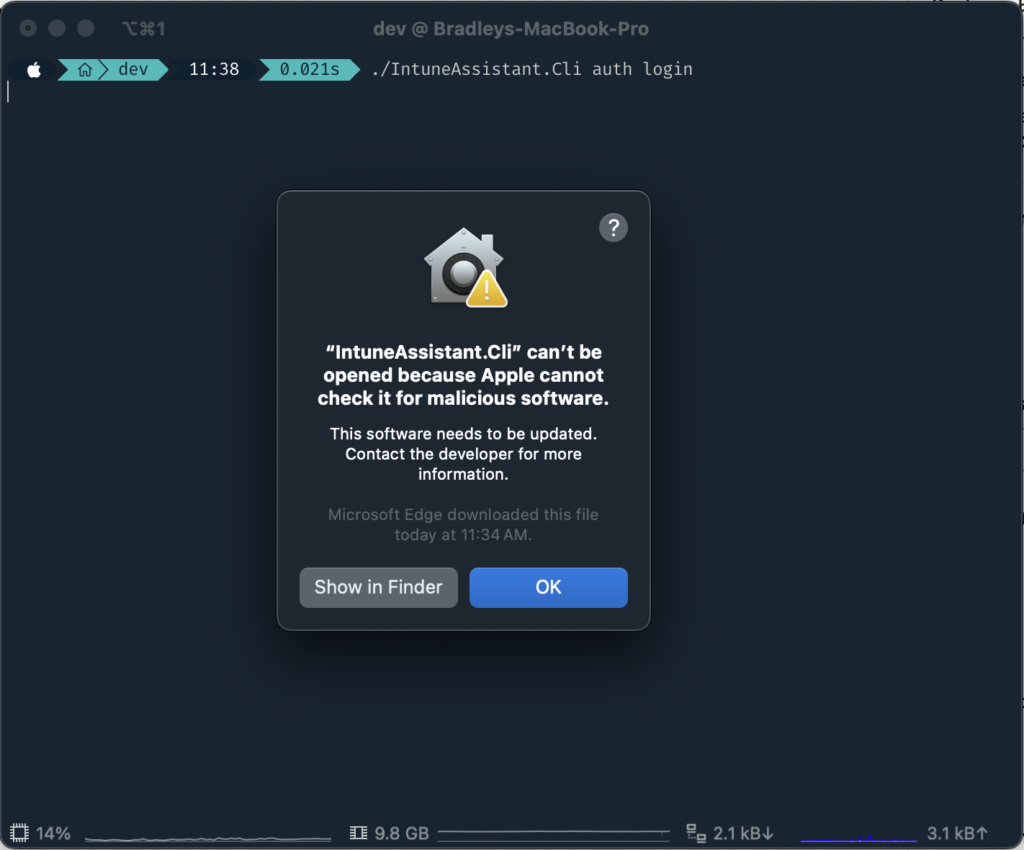
In Settings > Security and Privacy > click Allow Anyway
Meeting Pre-Preqs (DotNET)
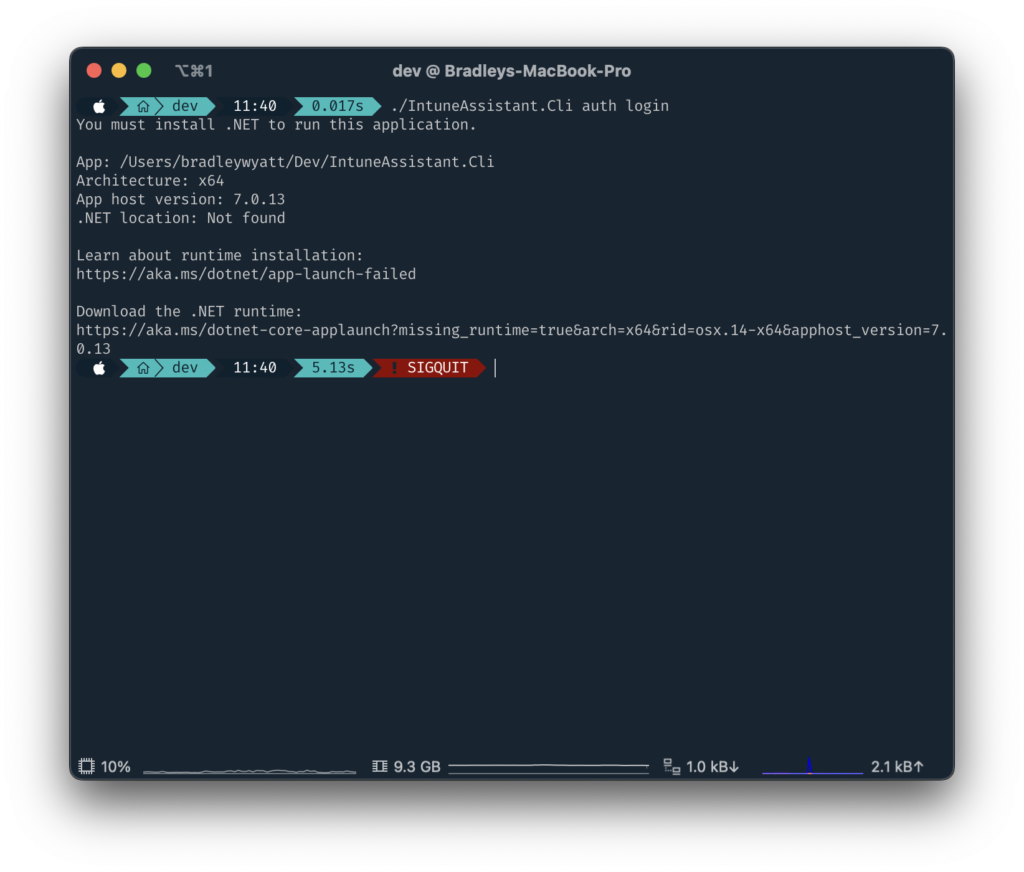
Back in the terminal if I re-run ./IntuneAssistant.Cli auth login this time it will run and fail the pre-req check (DotNET).
Command Line
Another method to download the IntuneAssistant is using the command line.
Install Dotnet SDK
First item that must be done, is to download dotnet 7 SDK for macOS which can be obtained here.
Add the NuGet Feed
Next, we need to add the Nuget feed
dotnet nuget add source https://api.nuget.org/v3/index.json --name nuget.orgInstall IntuneAssistant
The following command will install the IntuneAssistant
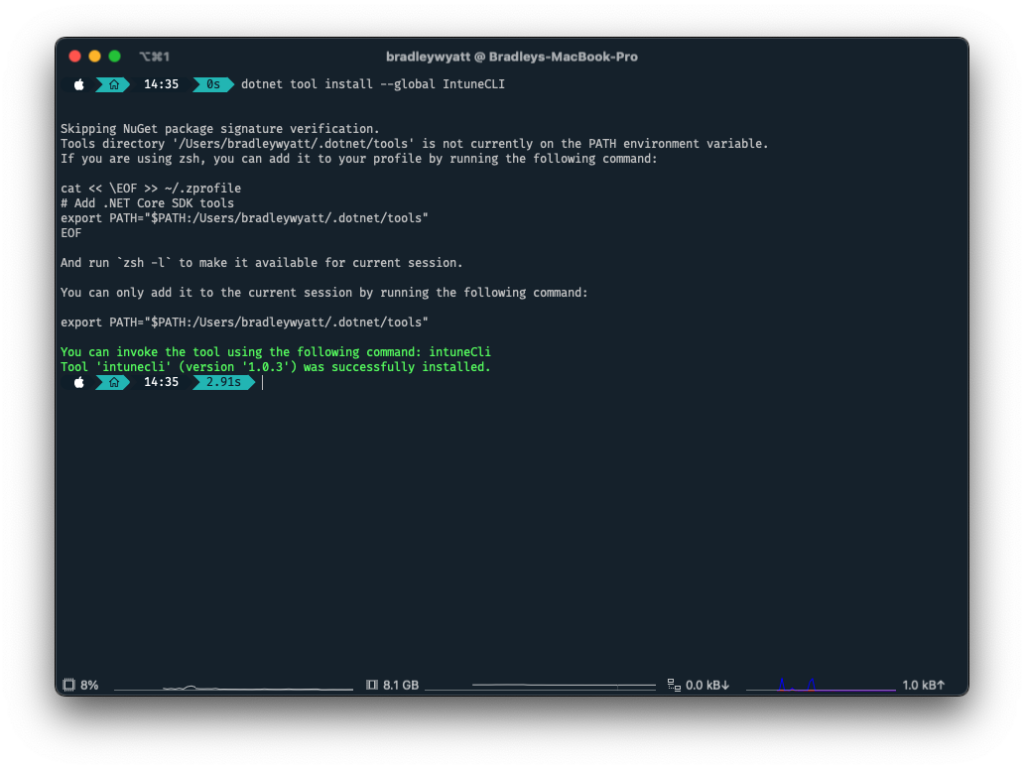
dotnet tool install --global IntuneCLI
Modify PATH Environment Variable
This next step is optional but by adding the IntuneAssistant path to the PATH, it will be loaded into memory when you start your terminal.
cat << \EOF >> ~/.zprofile
# Add .NET Core SDK tools
export PATH="$PATH:/Users/bradleywyatt/.dotnet/tools"
EOF
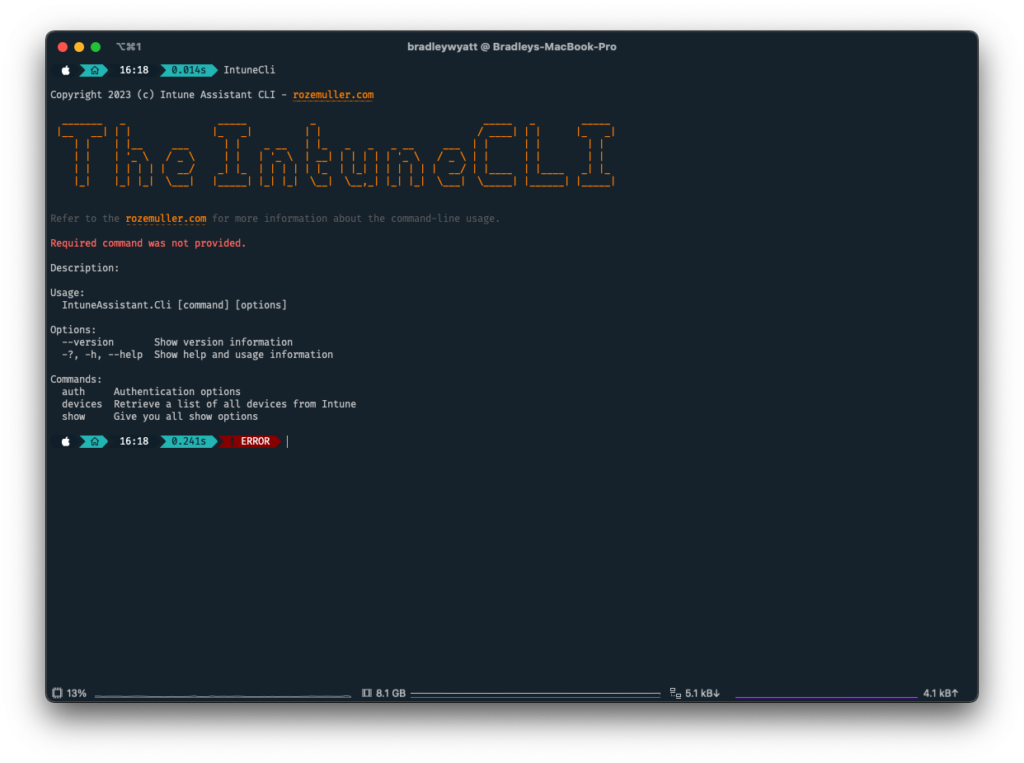
Now when I open my terminal up I can just type “IntuneCli”
Note: It seems to download to binary for Intel Mac’s and not ARM for now. Which is why you see the error being thrown.
IntuneCLI Commands
Login
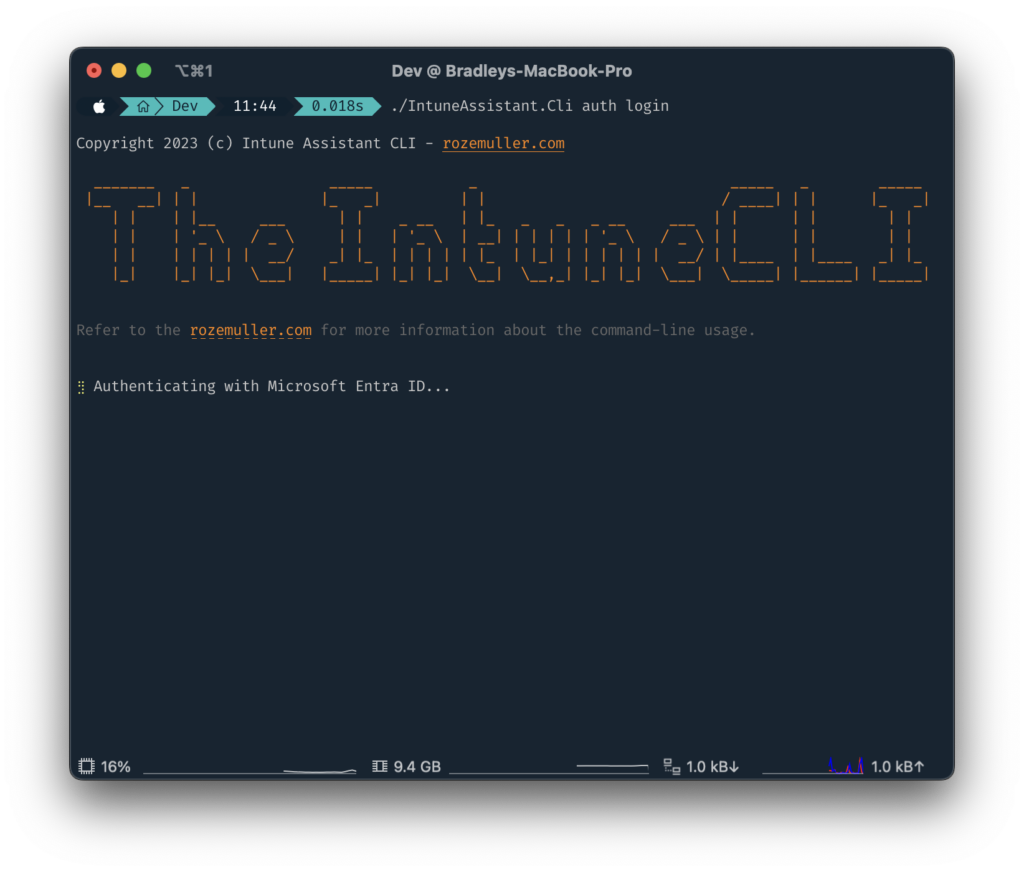
Now that I have DotNET installed, running the command again launches a web browser for me to sign in.
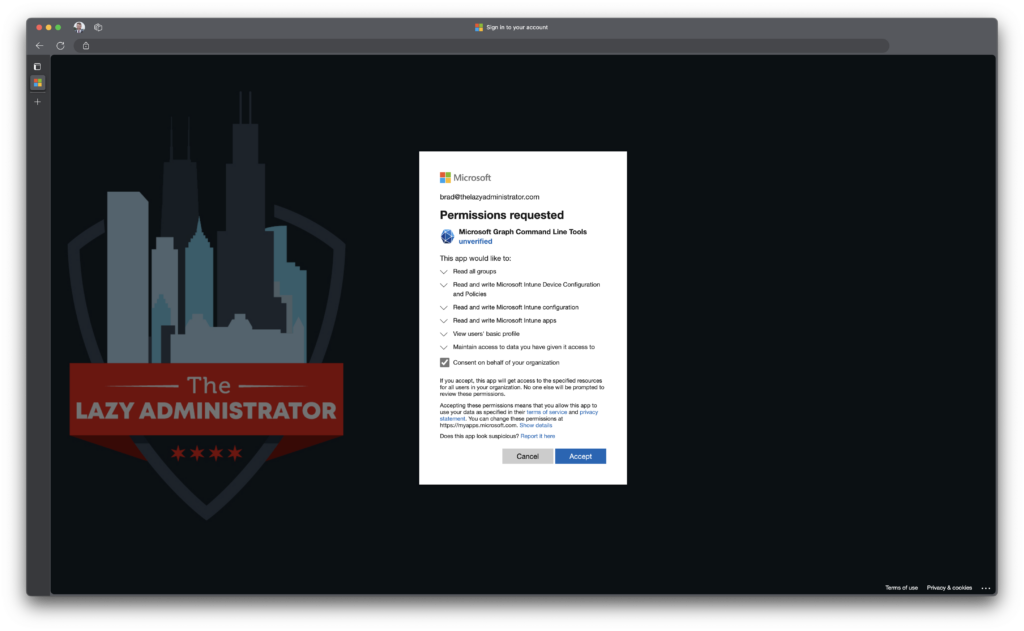
Since this is the first time I am using the CLI, I will be prompted to approve the permissions.
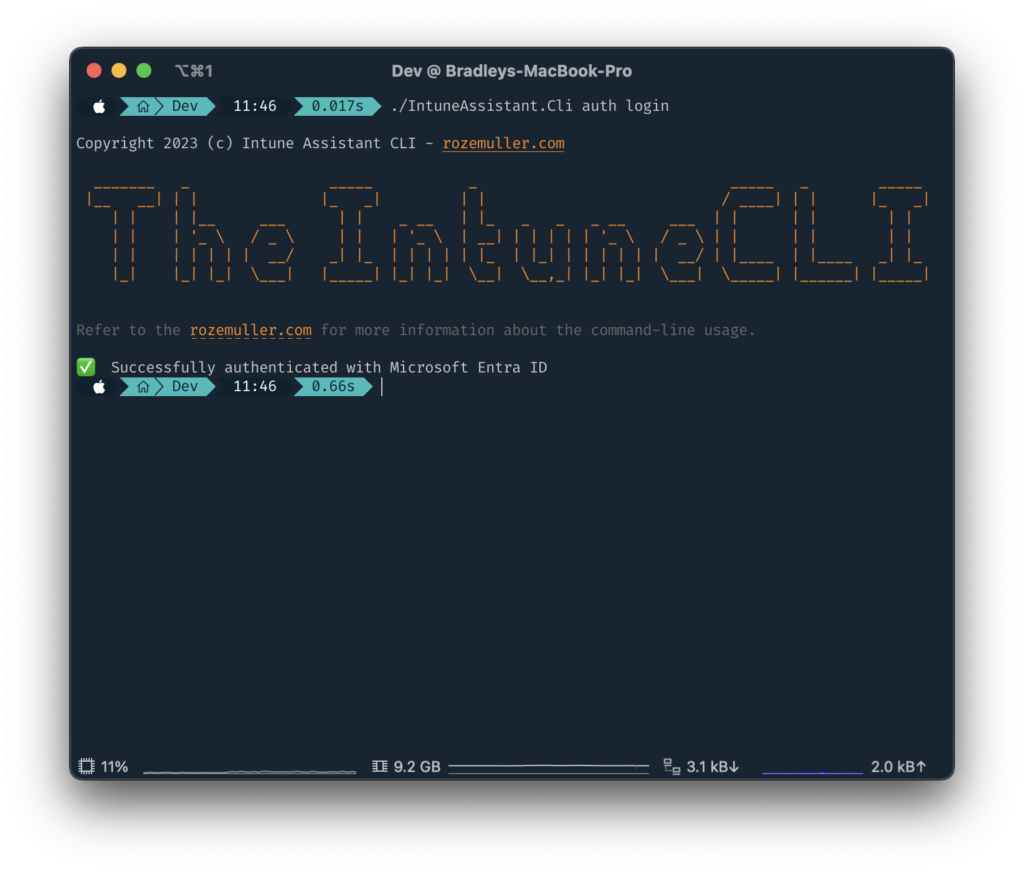
Once I have authenticated on the web, the terminal shows that I have successfully authenticated to Entra.
Show Intune Assignment Groups
The following command will display detailed information on all of our Intune Assignment Groups
./IntuneAssistant.Cli show assignments groups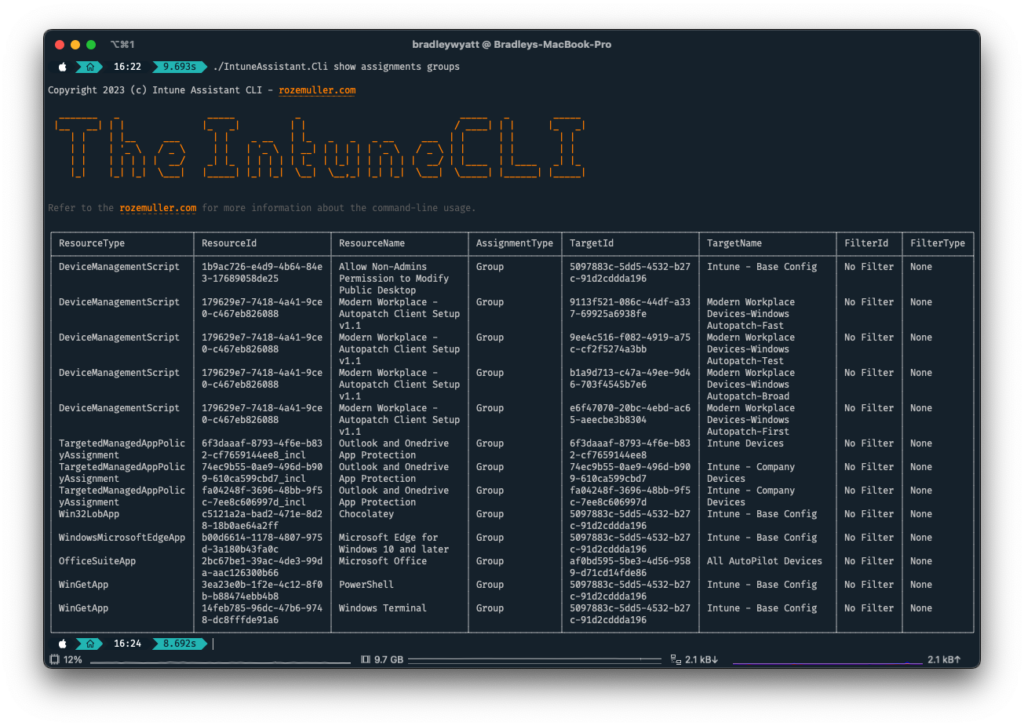
View Specific Group Information
Next, I want to view what is being applied to my group “Intune – Base Config”. This will allow me to see what my base deployment looks like. To do so, I need to run the following command:
./IntuneAssistant.Cli show assignments groups --group-name "Intune - Base Config"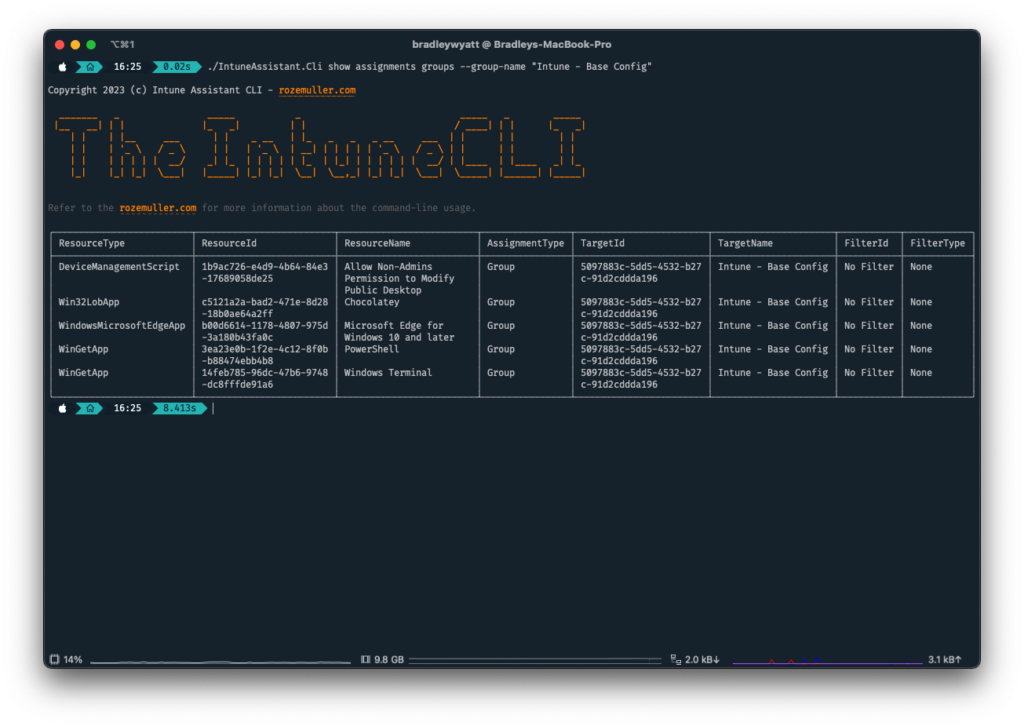
Help
The IntuneAssistant also includes a helpful Help system which can be called by using “-h”
In the following example I am going to view the help for showing devices by running the following command:
./IntuneAssistant.Cli show devices -h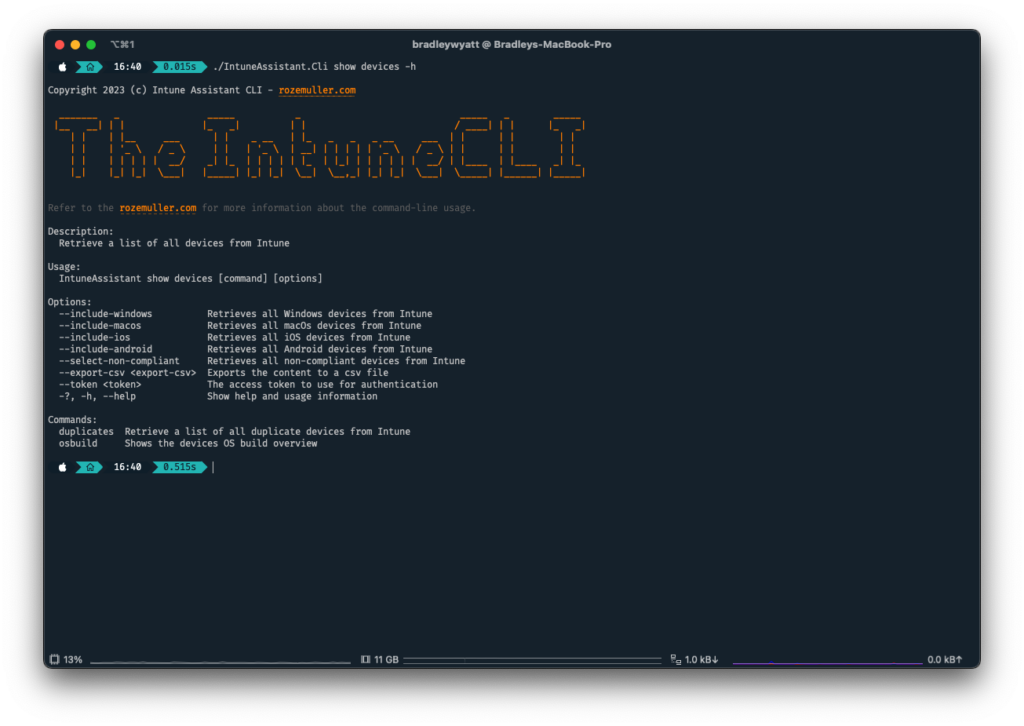

My name is Bradley Wyatt; I am a 5x Microsoft Most Valuable Professional (MVP) in Microsoft Azure and Microsoft 365. I have given talks at many different conferences, user groups, and companies throughout the United States, ranging from PowerShell to DevOps Security best practices, and I am the 2022 North American Outstanding Contribution to the Microsoft Community winner.
One thought on “Getting Started with the IntuneCLI, an Automated Intune Management Solution”